Setting up Nexar dash cam can be a valuable investment for any driver who wants to capture footage of their journeys on the road. The Nexar dash cam is a high-quality camera that can provide clear and detailed video footage of any incidents or accidents that may occur while driving. In this article, we will provide a step-by-step guide on how to set up a Nexar dash cam and start using it on the road.
- Choosing the Right Nexar Dash Cam Model
- Unboxing and Understanding Your Nexar Dash Cam
- Setting up Nexar Dash Cam in Your Car
- Connecting to Power and Setting Up the Nexar App
- Pairing Your Dash Cam with Your Phone
- Configuring Dash Cam Settings for Optimal Use
- Accessing and Managing Your Drive Recordings
- Troubleshooting Common Issues
- Frequently Asked Questions
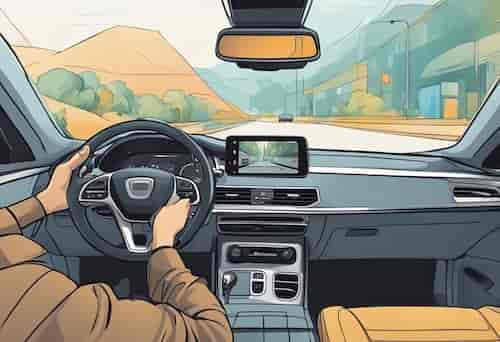
To begin setting up a Nexar dash cam, the driver will need to first download the Nexar app on their smartphone. Once the app is downloaded, the driver can then connect the dash cam to their phone via Bluetooth. After the connection is established, the driver can then mount the dash cam on their windshield using the included adhesive mount.
Once the dash cam is mounted, the driver can then adjust the camera angle to their desired position. The Nexar dash cam comes equipped with a 140-degree wide-angle lens that can capture a wide field of view. The driver can then start driving and the dash cam will automatically start recording footage of their journey. Overall, setting up a Nexar dash cam is a simple and straightforward process that can provide peace of mind for any driver on the road.
Choosing the Right Nexar Dash Cam Model
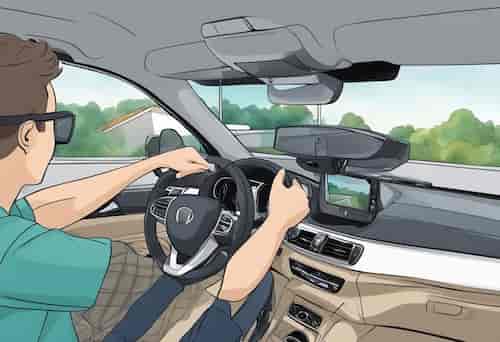
When it comes to choosing the right Nexar dash cam model, there are a few things to consider. Each model has its own unique features, so it’s important to choose the one that best fits your needs. Here are the three main models to choose from:
Nexar Pro
The Nexar Pro is the most advanced model, with a 1080p camera lens that captures high-quality footage. It also has a larger storage capacity than the other models, allowing for longer recordings. This model also includes a GPS system, which can be useful for tracking your location and speed. The Nexar Pro is a great choice for those who want the best possible footage quality and additional features.
Nexar One
The Nexar One is a mid-range model that still offers high-quality footage with its 720p camera lens. It has a smaller storage capacity than the Pro, but still provides enough space for most users. This model also includes a G-sensor, which can detect sudden movements and automatically save the footage. The Nexar One is a good choice for those who want a balance between price and features.
Nexar Beam
The Nexar Beam is the most affordable model, with a 720p camera lens and a compact design. It has the smallest storage capacity of the three models, but still provides enough space for short recordings. This model also includes a parking mode, which can detect motion and start recording when the car is parked. The Nexar Beam is a good choice for those who want a basic dash cam at an affordable price.
Overall, choosing the right Nexar dash cam model comes down to your specific needs and budget. Consider the features of each model and decide which one best fits your requirements.
Unboxing and Understanding Your Nexar Dash Cam
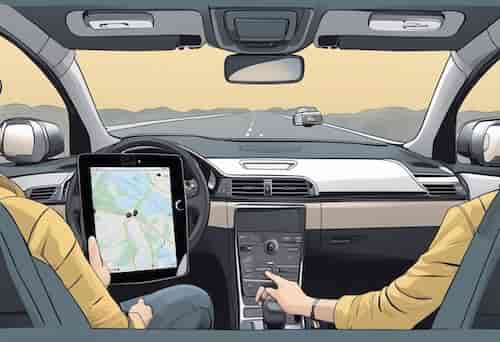
When you first unbox your Nexar Dash Cam, you will find the camera itself, a mount, a power cable, and a car charger. It is important to familiarize yourself with the camera components before setting it up in your vehicle.
Camera Components
The Nexar Dash Cam is a compact device that captures a wide-angle view of the road ahead. It has a built-in microphone and speaker for recording and playing back audio. The camera also features a microSD card slot for storing video footage, as well as a USB port for transferring files to your computer.
Mount Options
The mount that comes with the Nexar Dash Cam can be attached to your windshield or dashboard using the included adhesive pad. It is adjustable, allowing you to position the camera at the desired angle for optimal recording. Alternatively, you can use a suction cup mount (sold separately) for more flexibility in placement.
Power Supply
The Nexar Dash Cam can be powered by either the included power cable or the car charger. The power cable connects the camera to your vehicle’s power outlet, while the car charger allows you to charge the camera’s battery on-the-go. It is recommended to use the car charger when driving for extended periods of time to ensure the camera does not lose power.
Overall, setting up your Nexar Dash Cam is a straightforward process. By understanding the camera components, mount options, and power supply, you can easily install and begin using your dash cam to capture important moments on the road.
Setting up Nexar Dash Cam in Your Car
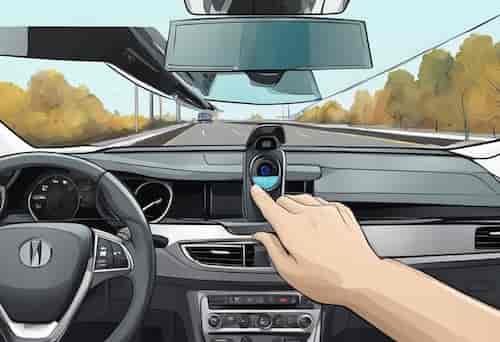
When it comes to installing a Nexar dash cam in your car, there are a few things to keep in mind to ensure that the camera is properly positioned and secured. In this section, we’ll cover the steps you should follow to install your dash cam.
Finding the Optimal Position
The first step in installing your Nexar dash cam is to find the optimal position for the camera. This will depend on a few factors, such as the size and shape of your car’s windshield, as well as your personal preferences.
To find the best spot, start by placing the camera in different locations on your windshield. You may want to use an installation tool to help you move the camera around without leaving fingerprints or smudges on the lens.
Once you’ve found a spot that works for you, make sure that the camera is not obstructing your view of the road. You should also ensure that the camera is not blocking any sensors or features on your windshield, such as rain sensors or collision avoidance systems.
Securing the Camera
Once you’ve found the optimal position for your Nexar dash cam, it’s time to secure it in place. The camera comes with an adhesive mount that you can use to attach it to your windshield.
Before attaching the mount, make sure that the area is clean and dry. You may want to use a cleaning solution and a microfiber cloth to remove any dirt or debris from the windshield.
Once the area is clean, attach the adhesive mount to the windshield and press firmly to ensure a secure bond. Then, attach the camera to the mount and adjust the angle as needed.
Organizing Cables
Finally, you’ll want to organize the cables for your Nexar dash cam to ensure that they don’t get in the way or become a distraction while driving. The camera comes with cable clips that you can use to keep the cables neat and tidy.
Start by routing the cables along the edge of your windshield and down the side of your car’s interior. Use the cable clips to secure the cables in place, and make sure that they don’t interfere with any of your car’s controls or features.
By following these steps, you can install your Nexar dash cam quickly and easily, and start enjoying the benefits of having a reliable and high-quality camera in your car.
Connecting to Power and Setting Up the Nexar App
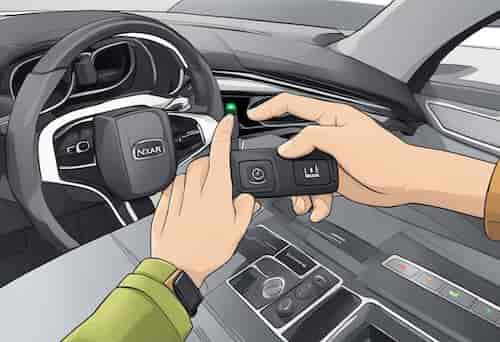
Powering the Dash Cam
Before setting up the Nexar dash cam, ensure that the dash cam is powered on. The dash cam can be powered using the included power cable and plugging it into the power port in the car. Once the dash cam is powered on, it will automatically start recording.
Downloading the App
To connect and control the Nexar dash cam, the Nexar app must be downloaded on a smartphone. The app is available for free on both the App Store for iOS devices and Google Play Store for Android devices. After downloading the app, open it and follow the on-screen instructions to create an account.
Creating an Account
To use the Nexar app, an account must be created. To create an account, enter an email address and password, and confirm the email address by clicking on the link sent to the email. Once the account is created, log in to the app using the email address and password.
After logging in, the app will prompt the user to connect the dash cam to the app. To connect the dash cam, ensure that the dash cam is turned on and the smartphone’s Bluetooth and Wi-Fi are turned on. Then, follow the on-screen instructions to connect the dash cam to the app. Once the dash cam is connected, the app will automatically start downloading any recorded videos to the smartphone.
Overall, setting up the Nexar dash cam is a straightforward process that can be completed in a few simple steps. By following the instructions provided in the app, users can easily connect the dash cam to the app and start using it to record their driving experiences.
Pairing Your Dash Cam with Your Phone
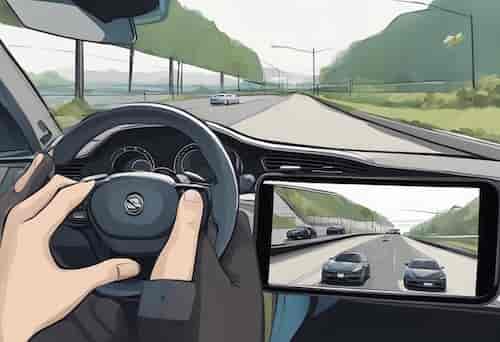
Pairing your Nexar Dash Cam with your phone is an easy process that allows you to view and download your recorded videos, access live streaming, and configure your settings. This section provides a step-by-step guide on how to pair your dash cam with your phone.
Using Bluetooth
The first step is to ensure that your phone’s Bluetooth is turned on. Then, open the Nexar app on your phone and follow these steps:
- Tap on the settings icon located at the top left corner of the screen
- Select “Dash Cam Settings”
- Tap on “Pair with Dash Cam” and select “Bluetooth”
- Select your dash cam from the list of available devices
- Follow the on-screen instructions to complete the pairing process
Once the pairing is successful, you can access your dash cam’s videos, settings, and live streaming through the Nexar app on your phone.
Connecting via Wi-Fi
To connect your dash cam to your phone via Wi-Fi, follow these steps:
- Ensure that your dash cam is turned on and within range of your phone’s Wi-Fi hotspot
- Open the Nexar app on your phone and tap on the settings icon located at the top left corner of the screen
- Select “Dash Cam Settings”
- Tap on “Pair with Dash Cam” and select “Wi-Fi”
- Select your dash cam from the list of available devices
- Enter the password for your dash cam’s Wi-Fi network (the password can be found on the back of the dash cam or in the user manual)
- Follow the on-screen instructions to complete the pairing process
Once the pairing is successful, you can access your dash cam’s videos, settings, and live streaming through the Nexar app on your phone.
In conclusion, pairing your Nexar Dash Cam with your phone is a simple process that can be done using either Bluetooth or Wi-Fi. By following the steps outlined in this section, you can start enjoying the benefits of having your dash cam connected to your phone.
Configuring Dash Cam Settings for Optimal Use
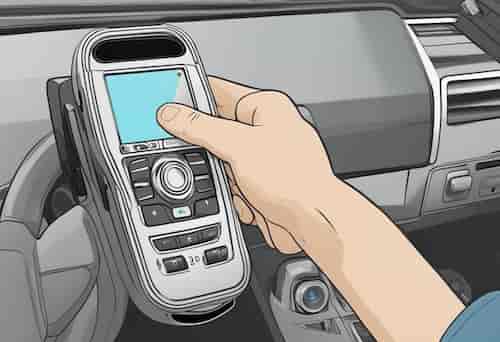
When setting up your Nexar dash cam, it is important to configure the settings to ensure optimal use. This section will cover the three main subsections for configuring dash cam settings: Setting Recording Preferences, Enabling Parking Mode, and Customizing Alerts.
Setting Recording Preferences
The Nexar dash cam has an automatic recording feature that starts recording as soon as you start driving. To set your recording preferences, go to the Nexar app and click on the settings icon. Under the “Recording” tab, you can choose the video quality, length of clips, and whether or not to record audio. It is recommended to set the video quality to the highest possible resolution for the best footage and to set the length of clips to 1-3 minutes.
Enabling Parking Mode
Parking mode is a feature that allows the dash cam to continue recording even when the car is turned off. To enable parking mode, make sure your dash cam is connected to a power source that stays on even when the car is turned off. Then, go to the Nexar app and click on the settings icon. Under the “Recording” tab, toggle on “Parking Mode” to enable this feature. It is recommended to use a Nexar GPS mount for the best parking mode experience.
Customizing Alerts
The Nexar dash cam has a variety of alerts that can be customized to your preferences. To customize alerts, go to the Nexar app and click on the settings icon. Under the “Alerts” tab, you can toggle on/off alerts such as collision warnings, speed limit warnings, and red light camera warnings. You can also adjust the sensitivity of each alert. It is recommended to keep collision warnings and speed limit warnings on for the best driving experience.
By configuring your dash cam settings, you can ensure optimal use of your Nexar dash cam. From setting recording preferences to enabling parking mode and customizing alerts, these settings will help you get the most out of your dash cam.
Accessing and Managing Your Drive Recordings
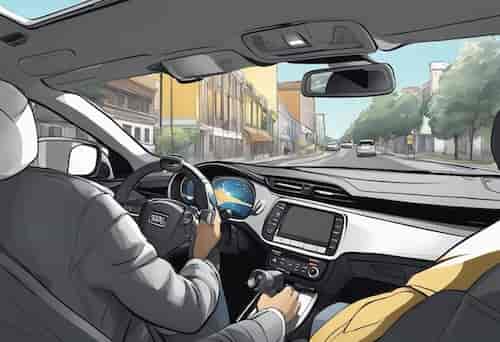
Once you have installed your Nexar dash cam and started recording your drives, you may want to access and manage your saved recordings. This can be done easily through the Nexar app on your smartphone.
Viewing Recorded Drives
To view your saved drive recordings, open the Nexar app and go to the “Drive” tab. Here you will see a list of your recorded drives, with the most recent drive at the top. You can tap on any drive to view the recording.
The app allows you to view the recording in full-screen mode, and you can also view a map of the route you took during the drive. Additionally, you can see the speed and location of any incidents that were detected during the drive.
Downloading Clips
If you want to save a specific clip from your drive recording, you can download it to your smartphone. To do this, tap on the drive recording you want to download and then select the clip you want to save.
Once you have selected the clip, tap on the download icon and the clip will be saved to your smartphone’s camera roll. This is useful if you need to share the clip with your insurance company or the police.
Using Nexar Cloud
Nexar also offers a cloud storage service that allows you to store your drive recordings in the cloud. This is useful if you want to free up space on your smartphone or if you want to access your recordings from multiple devices.
To use Nexar Cloud, you need to sign up for a subscription plan. Once you have signed up, your drive recordings will be automatically uploaded to the cloud. You can then access your recordings from the Nexar app on any device.
In conclusion, accessing and managing your drive recordings with Nexar is a straightforward process. With the ability to view your recordings, download clips, and use Nexar Cloud, you can easily manage your dash cam footage and keep track of your drives.
Troubleshooting Common Issues
If you encounter any issues while setting up your Nexar dash cam, don’t worry. This section will guide you through some common problems and how to troubleshoot them.
Connectivity Problems
One of the most common issues with dash cams is connectivity problems. If your dash cam is not connecting to your phone or Wi-Fi network, follow these troubleshooting instructions:
- Make sure your phone’s Bluetooth and Wi-Fi are turned on and connected to the internet.
- Check if your dash cam is within range of your phone and Wi-Fi network.
- Restart your phone and dash cam.
- If none of the above steps work, reset your dash cam to its factory settings.
Power Issues
Another common issue is power-related problems. If your dash cam is not powering on or is shutting down unexpectedly, follow these steps:
- Check if your dash cam is properly connected to the power outlet.
- If you are using a USB cable to power your dash cam, make sure it is compatible with your dash cam and is not damaged.
- Check if your dash cam’s battery is fully charged.
- If your dash cam is still not powering on, try using a different power outlet or USB cable.
Recording Errors
If your dash cam is not recording or is recording incorrectly, follow these troubleshooting instructions:
- Check if your dash cam’s memory card is properly inserted and has enough space to record.
- Make sure your dash cam’s firmware is up to date.
- If your dash cam is recording incorrectly, adjust the camera’s settings to your desired preferences.
- If none of the above steps work, reset your dash cam to its factory settings.
By following these troubleshooting instructions, you can easily resolve most common issues with your Nexar dash cam. If you still encounter any problems, don’t hesitate to contact Nexar’s customer support for further assistance.
Frequently Asked Questions
Are Nexar the best dash cam?
While Nexar makes some of the best dash cams, you might want to take a look at our article reviewing some of the best dash cams this year.
How do I install a Nexar One dash cam in both the front and rear of my vehicle?
To install a Nexar One dash cam in both the front and rear of your vehicle, you will need to purchase an additional rear-facing camera. Once you have the additional camera, follow the same installation process as you did for the front-facing camera. The cameras will automatically pair with each other and with your phone.
What are the steps to pair a Nexar dash cam with an iPhone?
To pair a Nexar dash cam with an iPhone, follow these steps:
- Download the Nexar app from the App Store.
- Turn on your dash cam and ensure that it is connected to a power source.
- Open the Nexar app and follow the on-screen instructions to create an account.
- Once you have created an account, go to the “Settings” section of the app and select “Pair a new dash cam.”
- Follow the on-screen instructions to pair your dash cam with your iPhone.
What should I do if my Nexar dash cam is not establishing a connection?
If your Nexar dash cam is not establishing a connection, try the following steps:
- Ensure that the dash cam is properly plugged in and receiving power.
- Make sure that your phone’s WiFi is turned on and that you are connected to a network.
- Check that the Nexar app is up to date.
- Try resetting your dash cam (see next question).
If none of these steps work, contact Nexar customer support for further assistance.
How can I perform a reset on my Nexar One dash cam?
To perform a reset on your Nexar One dash cam, follow these steps:
- Turn off the dash cam.
- Press and hold the power button for 10 seconds.
- Release the power button and wait for the dash cam to restart.
Is it necessary for the Nexar dash cam to maintain a constant WiFi connection?
No, it is not necessary for the Nexar dash cam to maintain a constant WiFi connection. The dash cam will automatically connect to your phone’s WiFi when it is in range, and will upload footage to the cloud when a connection is established. However, having a constant WiFi connection can improve the reliability of your dash cam.
Are there any recurring fees associated with using a Nexar dash cam?
No, there are no recurring fees associated with using a Nexar dash cam. The Nexar app and cloud storage are free to use. However, if you want to upgrade to a premium plan for additional features, there may be a fee.


